How to Paint a Room Like a Pro: Complete Step-by-Step Guide
As a DIYer painter, your reputation relies not only on your skill but also on your preparation and efficiency. Each project, whether a single room, a modern apartment, or a sprawling house, requires a strategic approach and the right equipment. This article is your complete guide to what you’ll need to tackle painting projects as a freelancer—from tools and materials to preparation tips that will elevate your work to a professional level.
1. Essential Tools for Freelance Painters
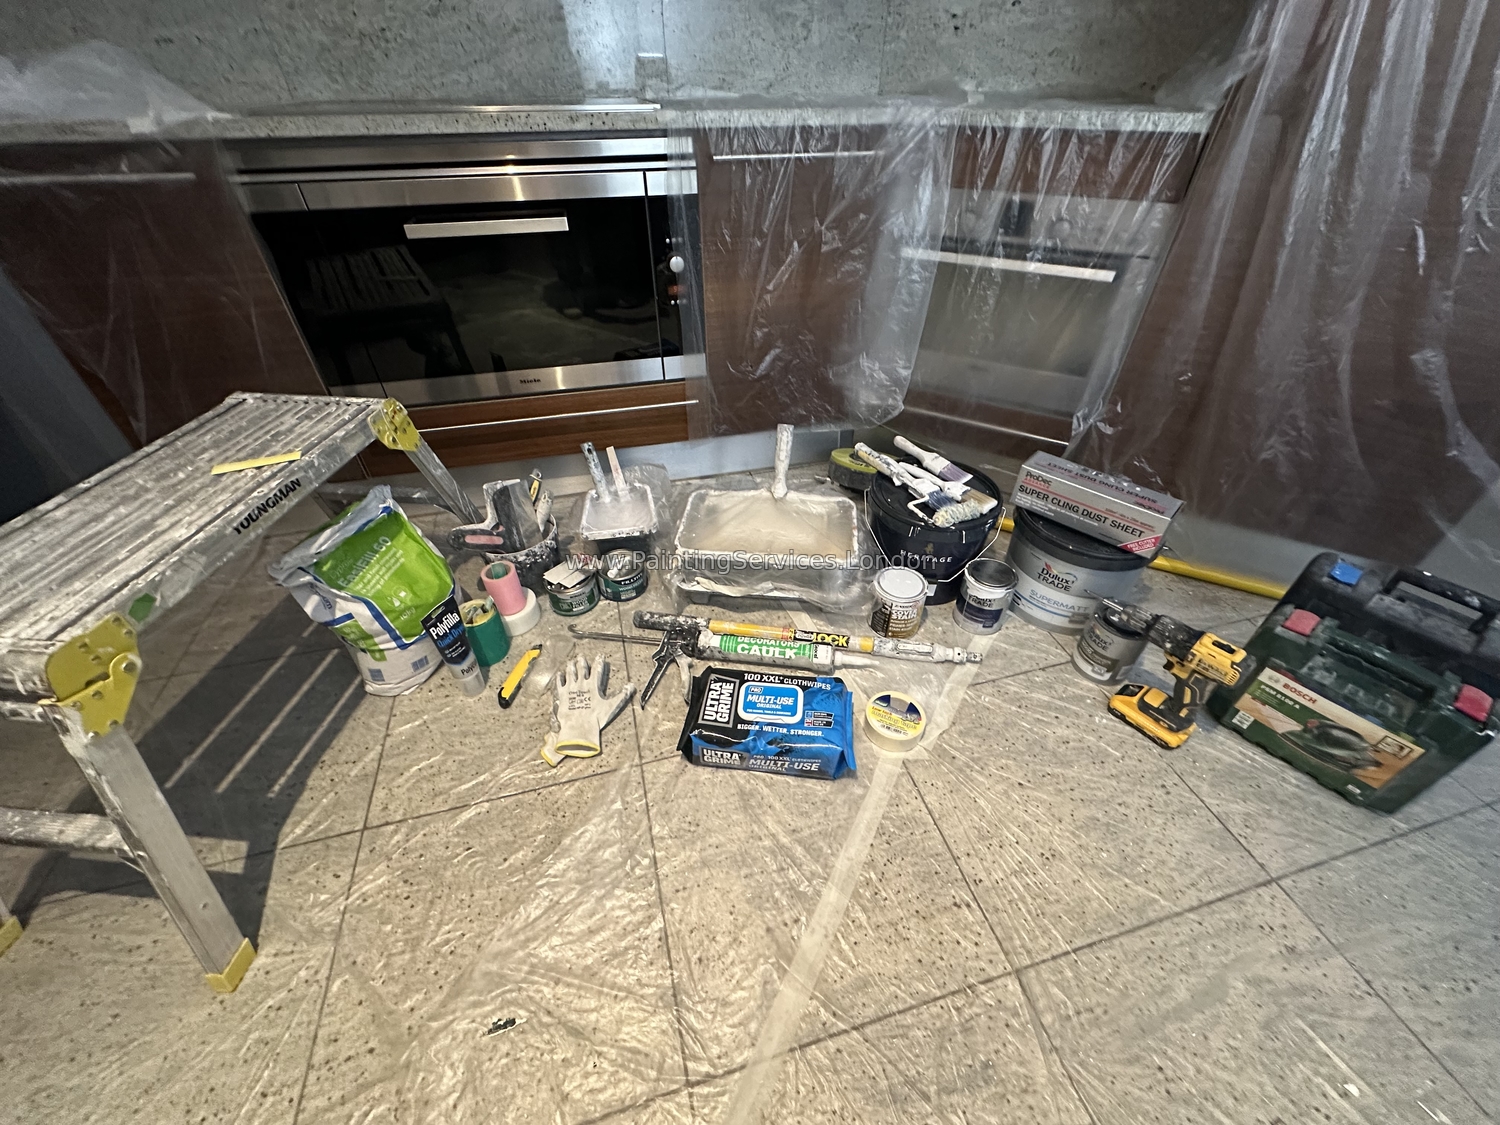
Success in painting starts with having the right tools. Here’s a breakdown of what every freelance painter should carry:
1.1. Paint Brushes and Rollers
Brushes: A range of sizes, including angled brushes for corners and fine details.
Rollers: High-quality rollers for smooth, even coverage. Foam rollers are great for glossy finishes, while thicker rollers handle textured walls.
1.2. Paint Trays and Buckets
Use sturdy paint trays for rolling and buckets with liners for larger jobs. A bucket grid can improve your workflow for extensive wall painting.
1.3. Surface Preparation Tools
Sandpaper and Scrapers: For smoothing walls and removing flaking paint.
Putty Knife: To fill cracks and holes with spackling paste.
Painter’s Tape: Essential for clean, sharp edges and protecting surfaces.
1.4. Protective Gear
Drop Cloths: Canvas or plastic to protect floors, furniture, and fixtures.
Safety Equipment: Masks, gloves, and goggles, particularly for sanding or spray painting.
1.5. Ladders and Platforms
Sturdy step ladders or scaffolding for safely reaching high areas. Adjustable options work best for different ceiling heights.
2. Choosing the Right Paint
Selecting the right paint is key to delivering lasting results. Consider these factors:
2.1. Types of Paint
Emulsion: Ideal for walls and ceilings, easy to clean, and dries quickly.
Gloss and Satin: Best for trims, doors, and windows. They add durability and a sleek finish.
Specialized Paints: Anti-mold or moisture-resistant paints for bathrooms and kitchens.
2.2. Understanding Sheen Levels
Matte paints are great for hiding imperfections but may not clean easily.
Semi-gloss and satin finishes balance durability and aesthetics, making them versatile options.
2.3. Client Preferences
Always discuss paint options with your client, including color, finish, and brand. This ensures satisfaction and clarity.
3. Preparing the Space
Preparation is half the battle. Skipping this step leads to uneven results and wasted effort.
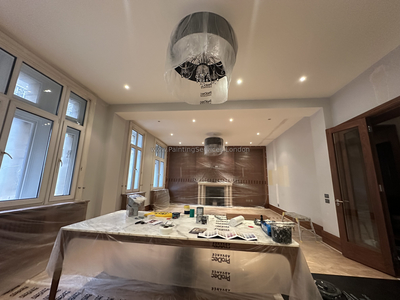
3.1. Clearing and Protecting
Remove furniture or cover it with drop cloths.
Tape off edges, windows, and light fixtures.
3.2. Wall Preparation
Inspect walls for cracks, holes, or peeling paint.
Sand uneven areas and clean surfaces with a damp cloth or mild detergent to remove dust and grease.
3.3. Priming
Priming ensures the paint adheres properly and enhances color vibrancy. Use a primer tailored to the surface type (e.g., drywall, wood, or plaster).
4. Painting Techniques for Professional Results
Technique can make or break the final look. Follow these steps for a flawless finish:
4.1. Work Top to Bottom
Start with the ceiling, then move to walls, and finish with trims and details. This prevents drips from spoiling completed sections.
4.2. Layering
Apply multiple thin coats rather than a single thick one. Allow proper drying time between coats.
4.3. Brush and Roller Tips
Use long, even strokes with brushes to avoid streaks.
For rollers, apply in a “W” pattern to distribute paint evenly.
4.4. Edging
Start by cutting in along edges and corners with a small angled brush before using a roller on larger surfaces.
5. Post-Job Cleanup and Client Presentation
A clean workspace reflects professionalism and care.
5.1. Removing Tape and Drop Cloths
Peel painter’s tape carefully before the paint fully dries to avoid peeling. Collect and dispose of any waste responsibly.
5.2. Tool Maintenance
Clean brushes, rollers, and trays thoroughly to extend their lifespan.
5.3. Final Inspection
Walk through the completed space with your client to ensure satisfaction. Address any concerns promptly.
DIYer painting requires skill, preparation, and the right tools to meet client expectations. By following this comprehensive guide, you’ll not only complete projects efficiently but also build a reputation for excellence. Whether you’re painting a cozy room or an expansive house, the fundamentals remain the same: be prepared, work methodically, and deliver quality results.
